Get Started with Sparkit
Get Started with Sparkit, get sparkle moments in video. Here’s a detailed guide using Sparkit to capture and merge video screenshots for complete visual stories.
1. How to Download and Install Sparkit?
1.1 Download Sparkit
If you still don’t have Sparkit on your computer, please click the following button to download Sparkit on your Windows or Mac.
1.2 Install and Launch Sparkit
- On Windows
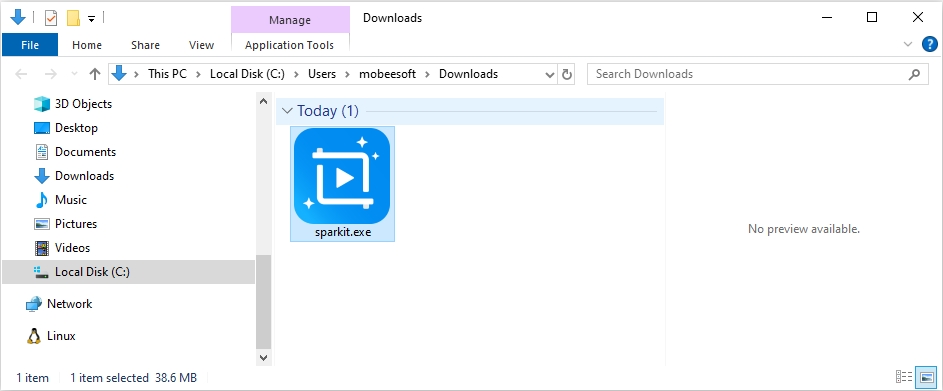
Locate the downloaded installer file named “Sparkit.exe” and double-click on it to run it.
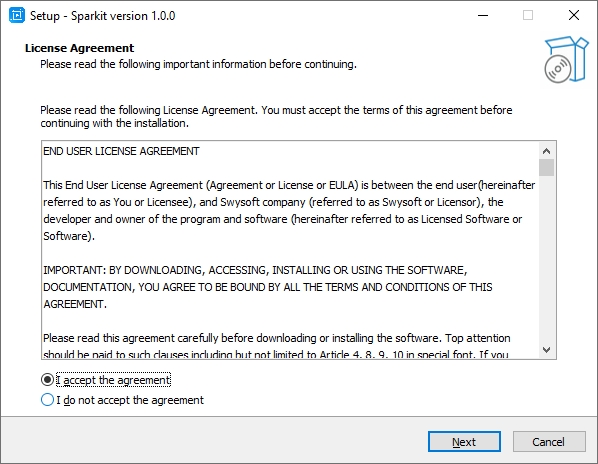
You will be prompted to read and accept the End User License Agreement (EULA). Review the terms, and if you agree, check the box indicating your acceptance and click “Next“.
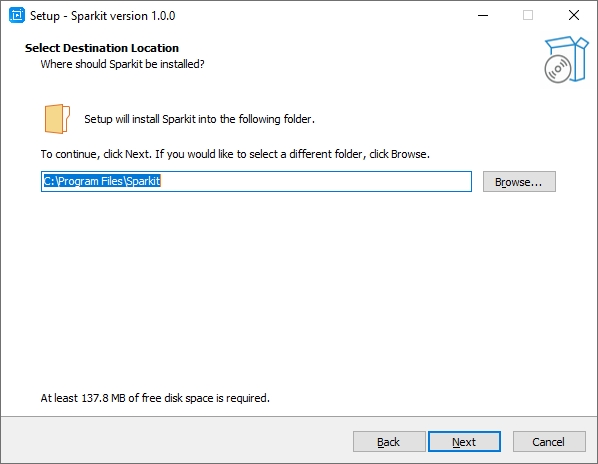
Choose the destination location to install Sparkit and click “Next” to continue the process.
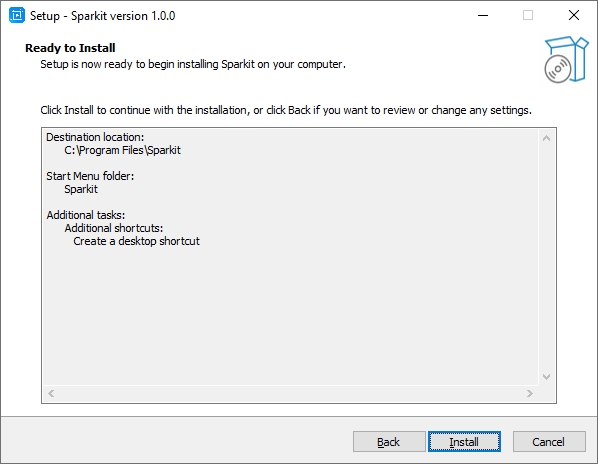
Click on the “Install” button to begin the installation process.
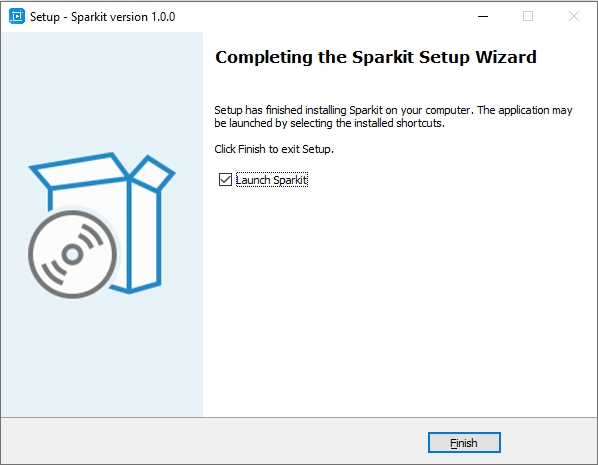
Once the installation is finished, you will see an option to launch Sparkit. Check the box if you want to launch the program immediately after installation and click “Finish“.
- On Mac
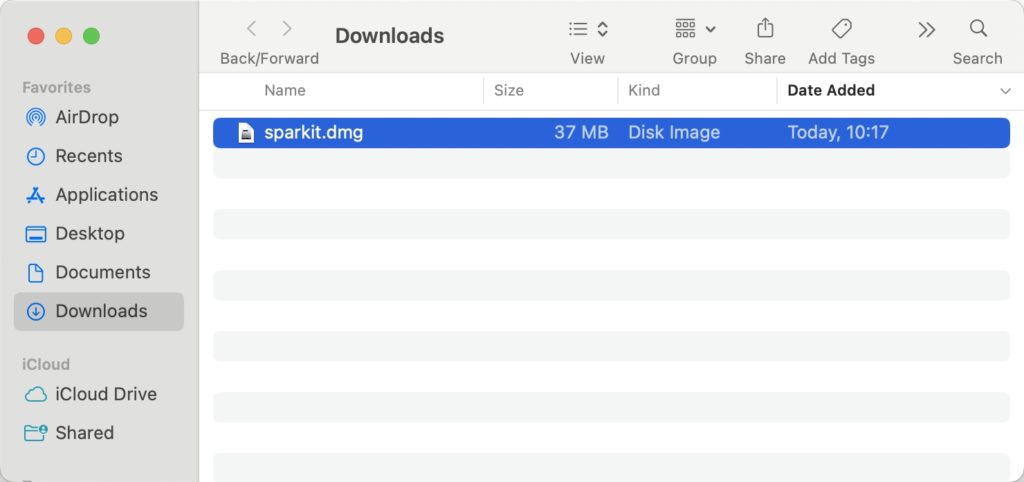
Locate the downloaded installer file named “Sparkit.dmg” in your Downloads folder and double-click on it to open it.
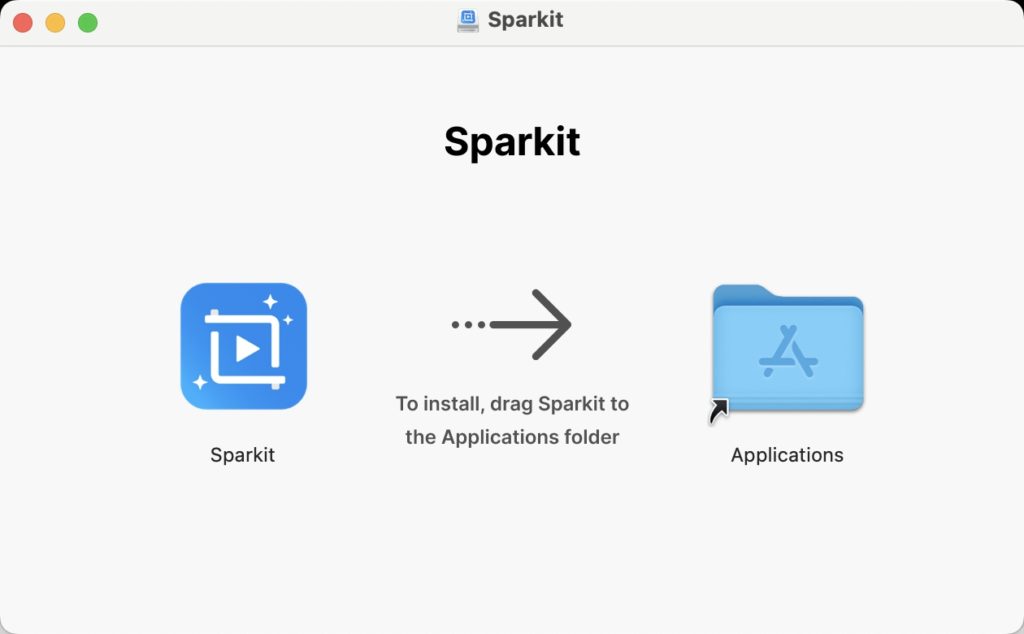
Drag the Sparkit icon to the Applications folder icon to begin the installation process. This will copy the Sparkit application to your Applications folder on your Mac.
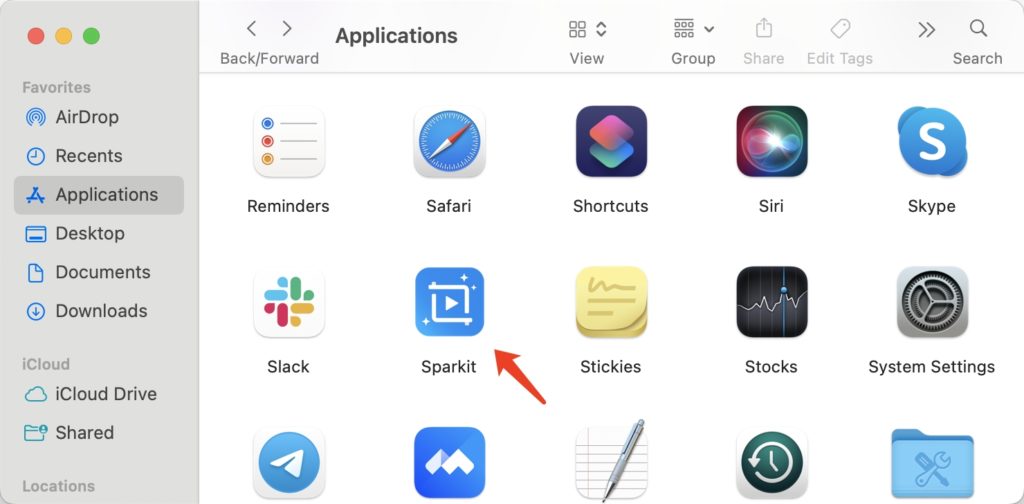
Navigate to your Applications folder and locate the Sparkit application. Double-click on the Sparkit icon to launch the application on your Mac.
2. How to Register Sparkit?
Sparkit provides both free trial and full version. The free trial version of Sparkit has these restrictions: you can’t use the auto captions feature and your output files come with watermarks, so if you want to use all features of Sparkit, it’s suggested that you pick a Sparkit Pro plan from the official site.

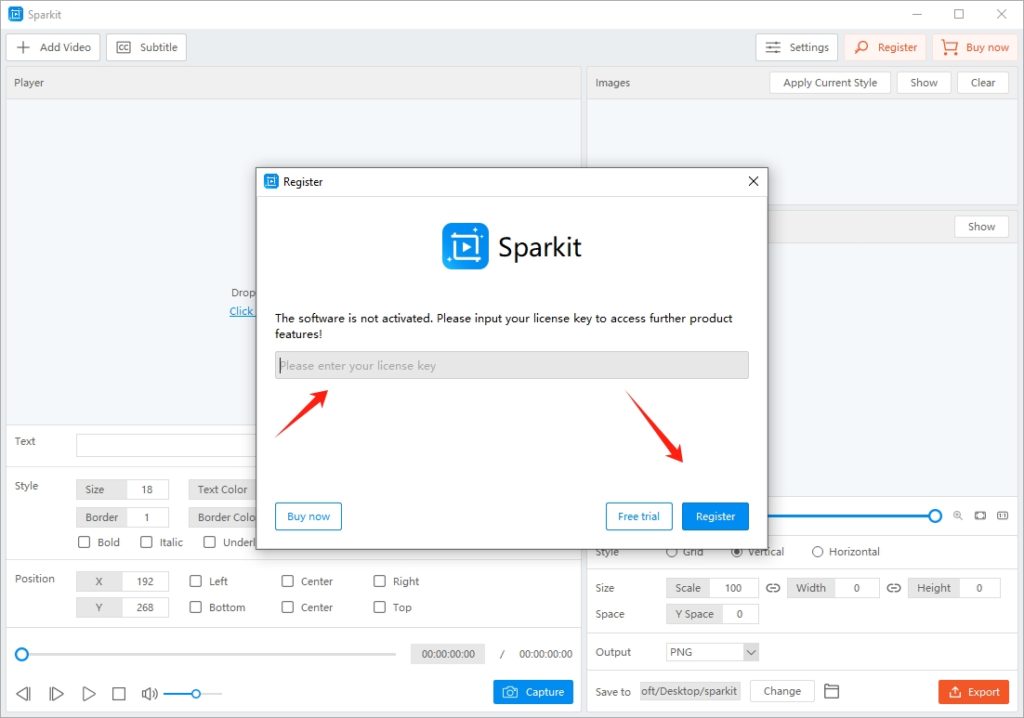
Aftering purchasing, you will receive an email with your order information, including the license key. Copy the key, and return to the Sparkit software, go to “Settings” and click the “Register” button.
Paste the copied key and click “Register” to activate your account.
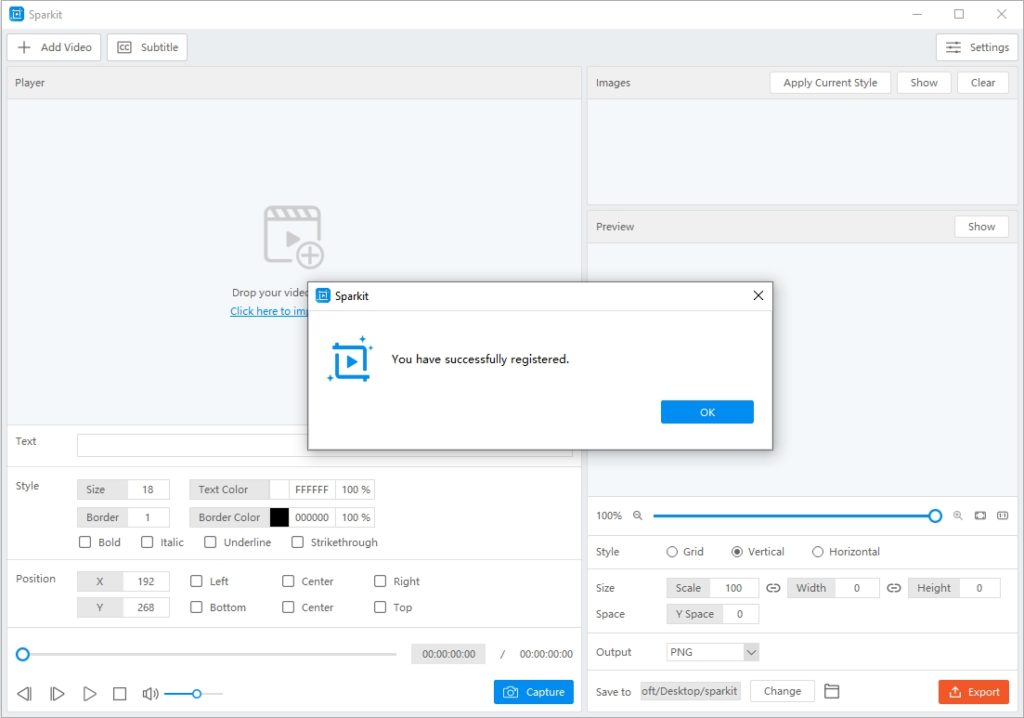
After registering, you can get access to all features of Sparkit without limitation.
3. How to Use Spakit?
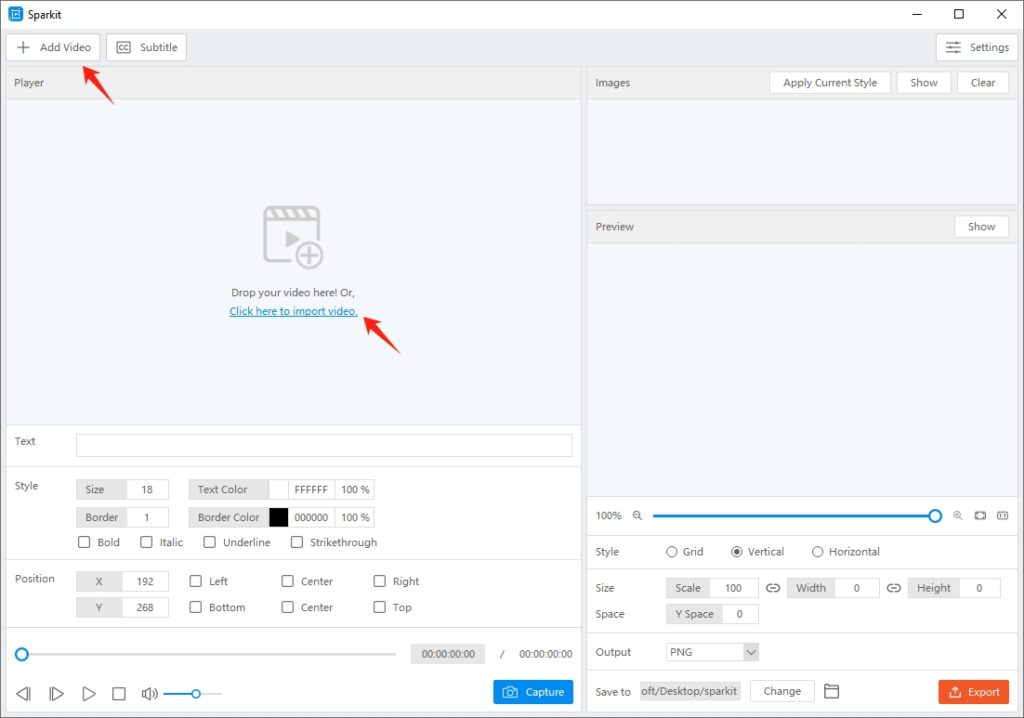
3.1 Upload Video
Add your video to Sparkit by simply using drag & drop (or) selecting it from your computer.
3.2 Add Subtitles
- Auto Captions
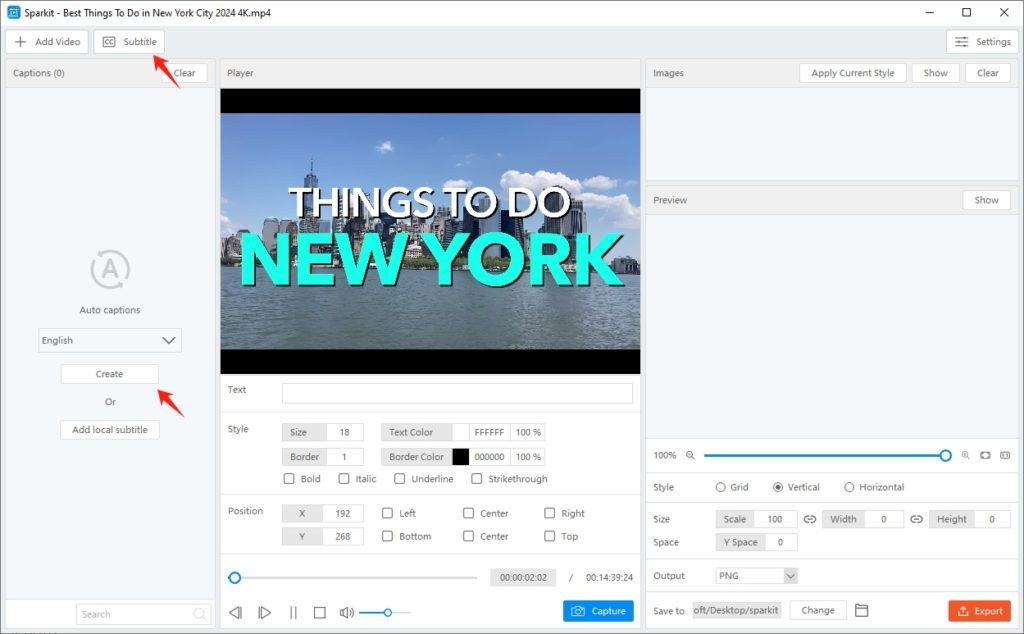
Adding subtitles to your video can be time-consuming using Sparkit’s auto captions. After uploading a video, click the “Subtitle” > locate “Auto Captions” > Choose your video language > tap on “Create“.
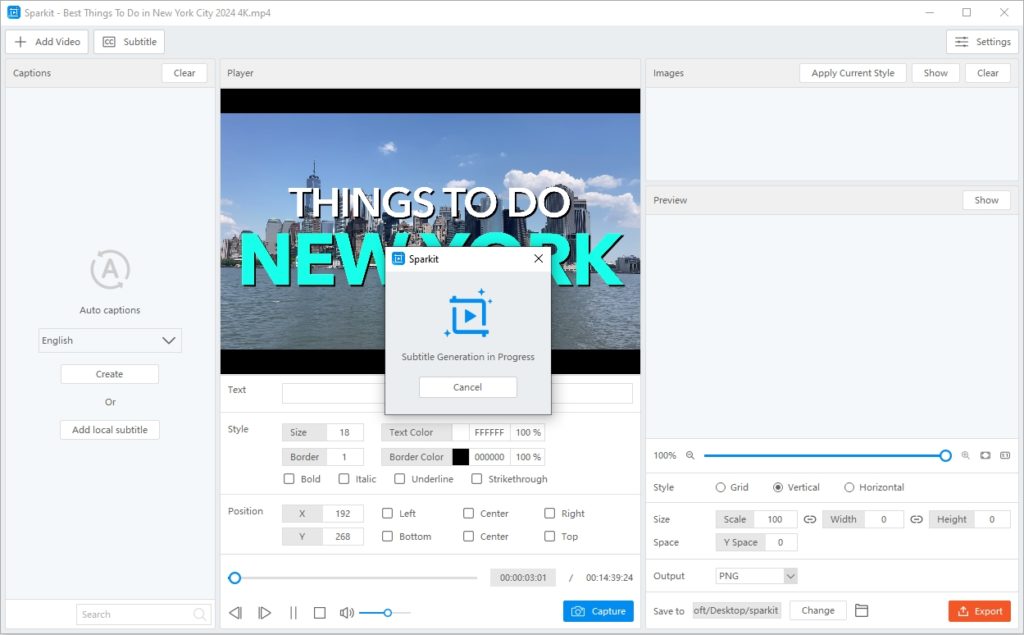
Sparkit will start transcribing the video speech to text, and this will take some time according to the video length.
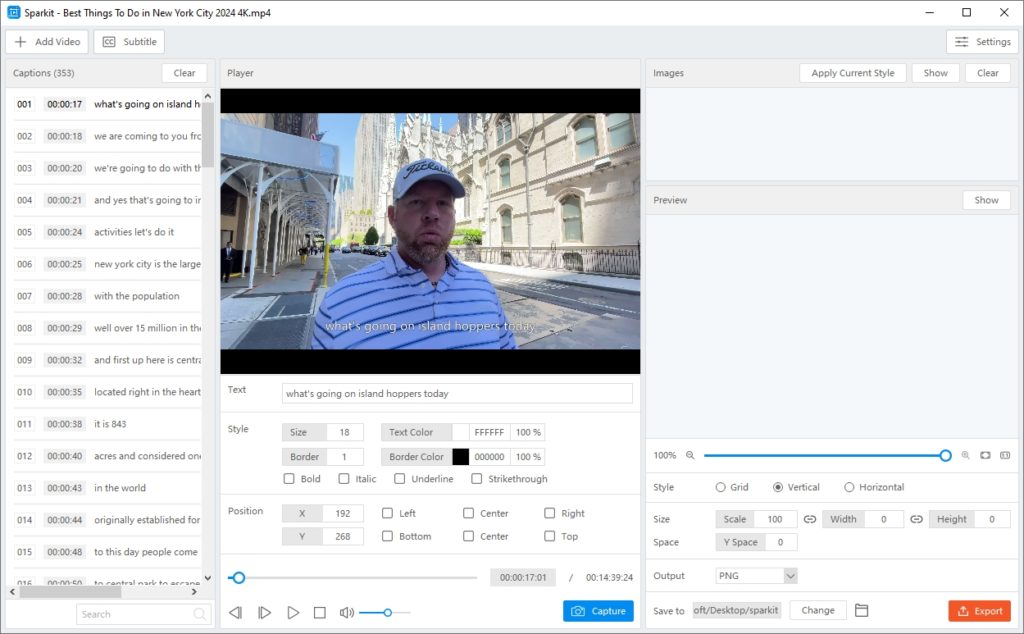
After the subtitle generation is completed, Sparkit will show you all video frames captured baed on subtitles.
- Upload Local Subtitle
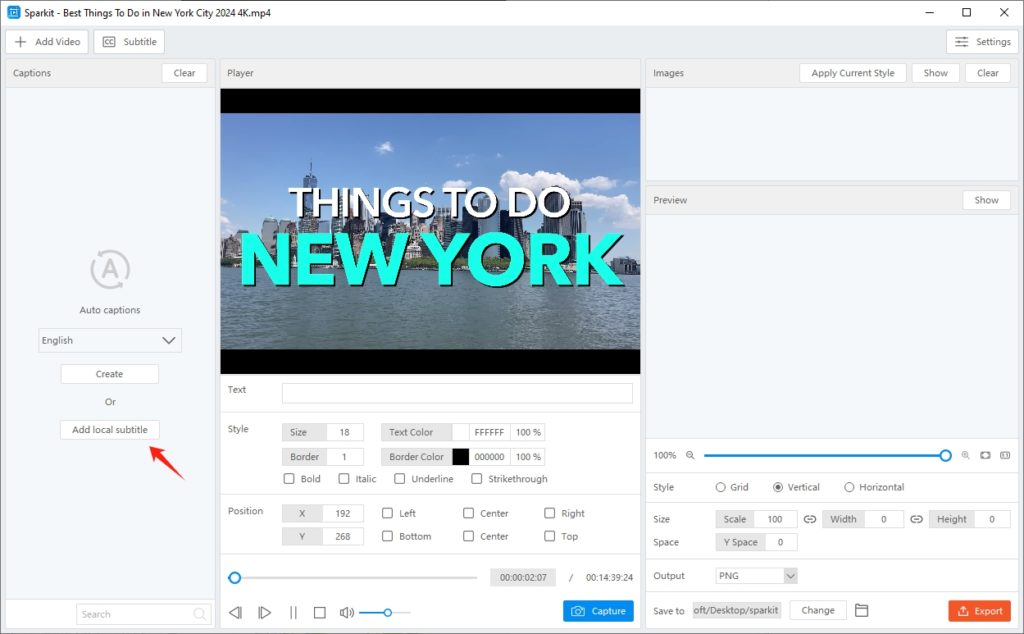
Sparkit also allows to upload existing subtitle to video by clicking “Add local subtitle“. Your subtitle formats can be SRT, VTT, SSA, ASS, SUB and more.
- Delete Subtitles
To delete the subtitle, simply click the “Clear” button in the “Captions” section.
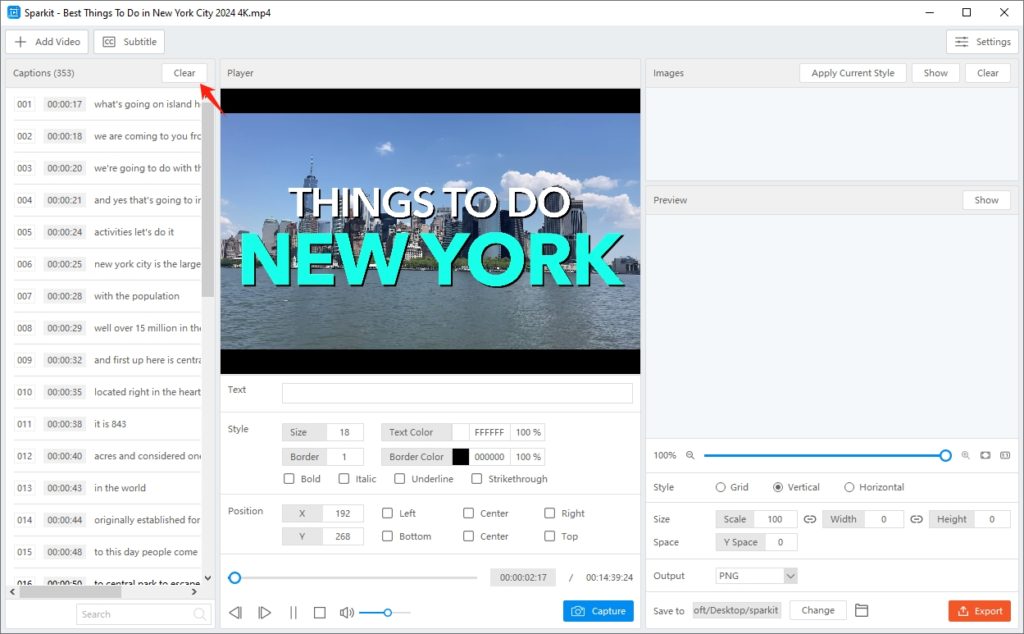
3.3 Capture Images from Video
After adding subtitles, you can locate a frame and take screenshot from video by clicking the “Capture” button. Sparkit will capture the image without losing any quality.

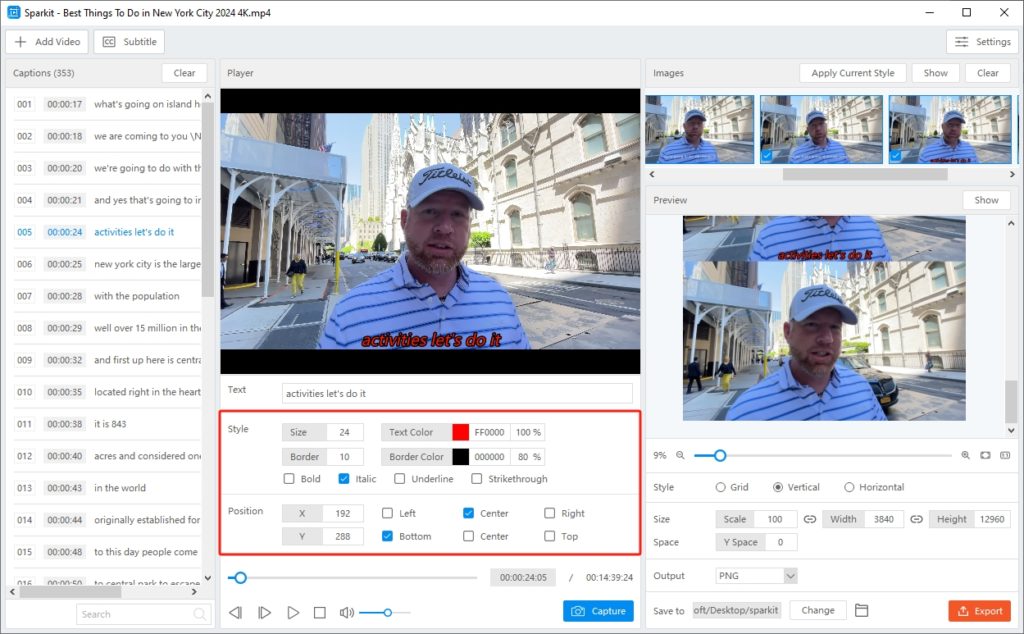
3.4 Adjust Subtitles
Sparkit allows to adjust generated or uploaded subtitles if necessary.
You can modify the text and press the enter key to wrap the line.
You are also able to customize the subtitle style (size, color and border) and position with the Sparkit interface.
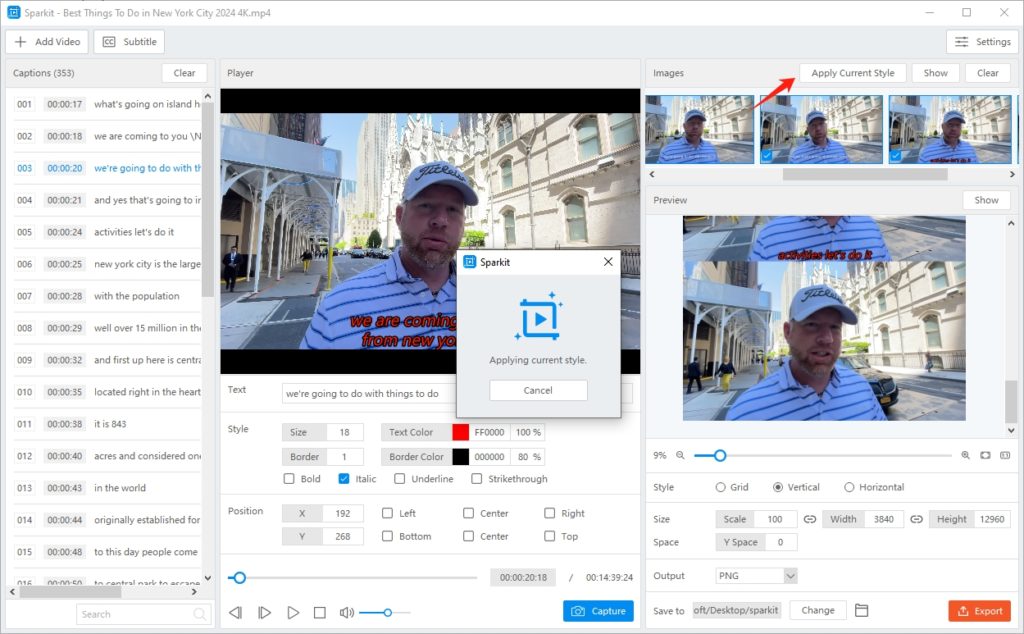
If you want to apply the current style to all captured images, click on the “Apply Current Style” in the “Images” section and Sparkit will start the apply process.
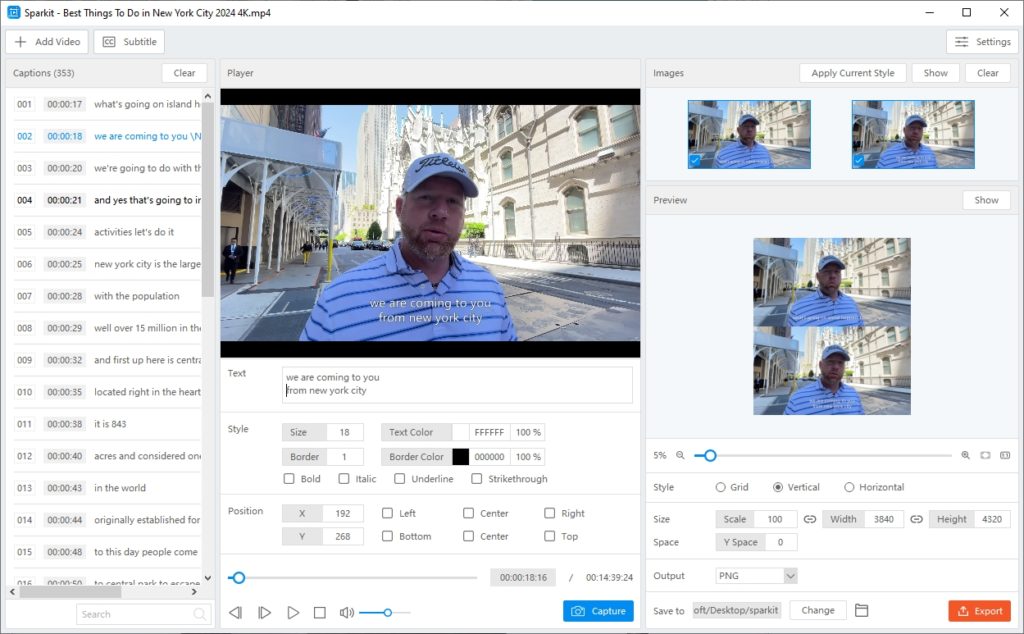
3.5 Select Images to Export in Local
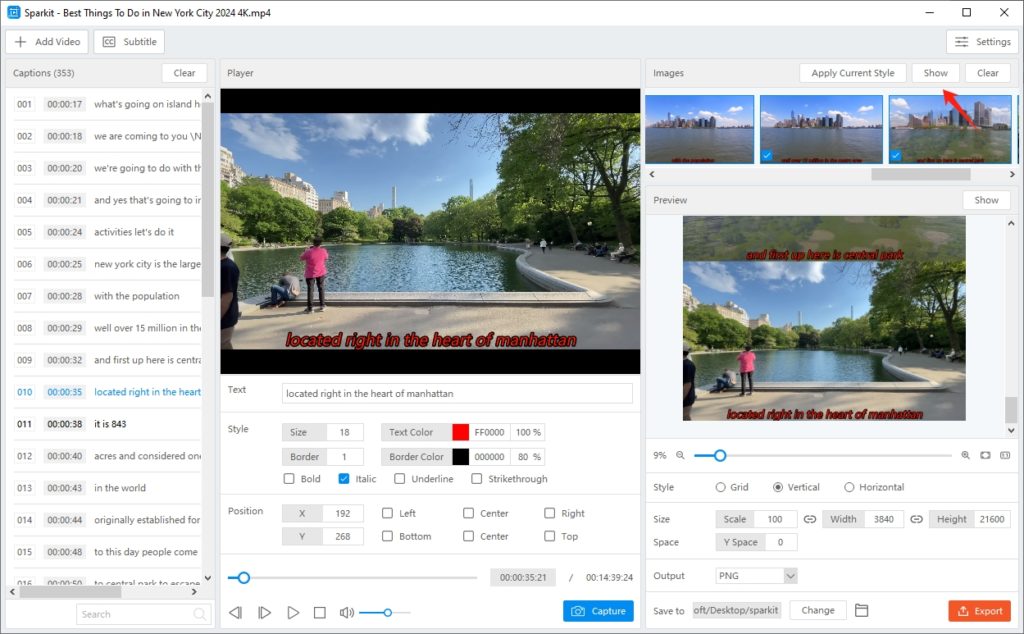
Locate the “Images” section, click “Show” to preview all the captured images.
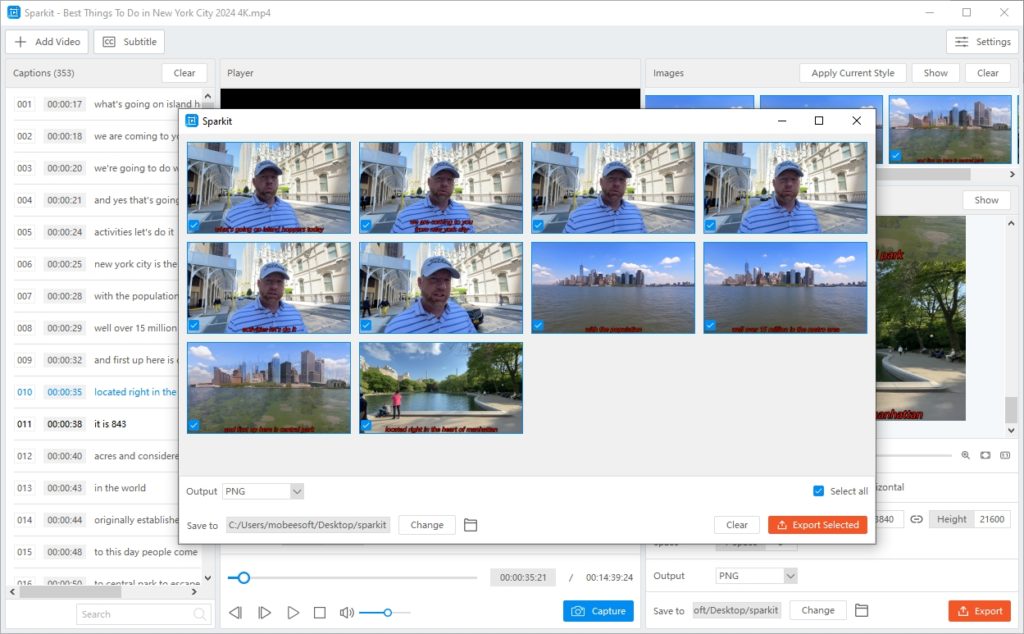
You can choose several images to export or export all images on your computer in just one click.
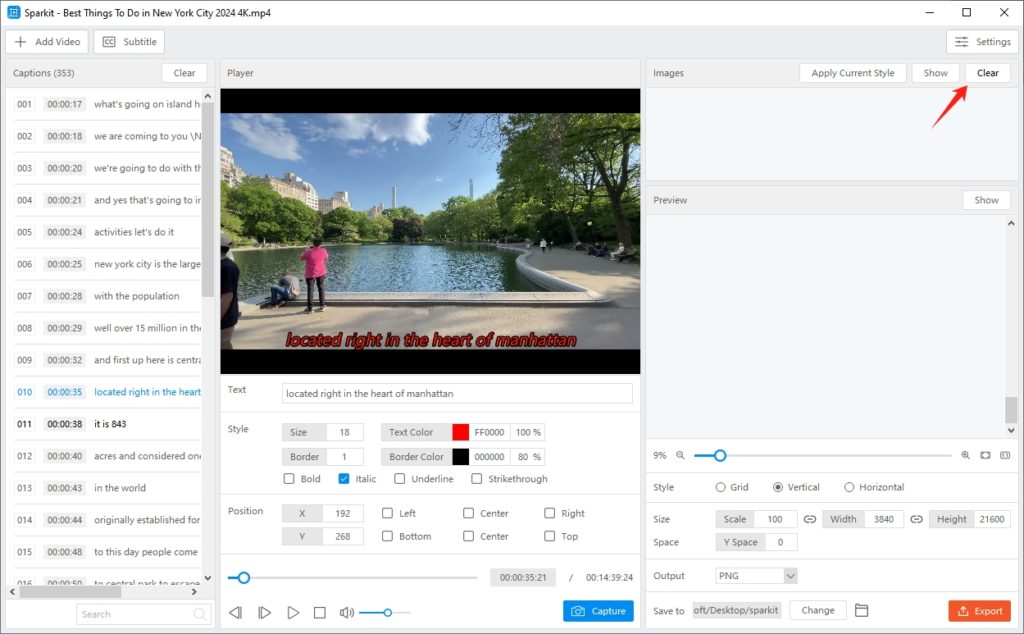
To delete all the captured images, simply click the “Clear” button and then you can start capturing new images.
3.6 Merge Multiple Images into One
- Choose Images to Combine
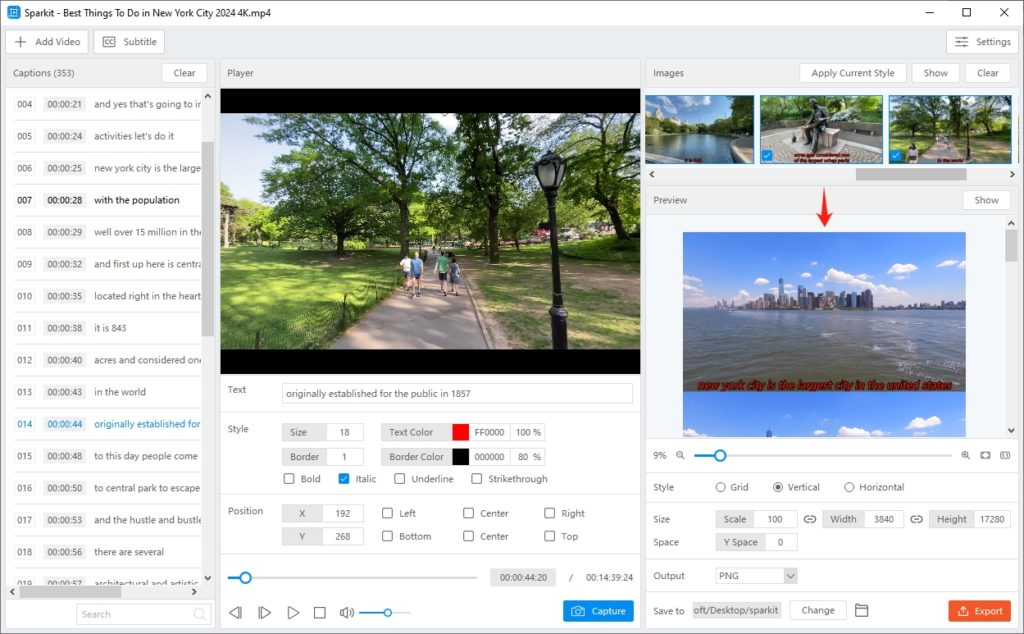
Select the images that you want to combine into a new one, then locate the “Preview” section.
- Customize Image Output Settings
Customize the image settings that you want to export, including the image style, size and space, format and file location.
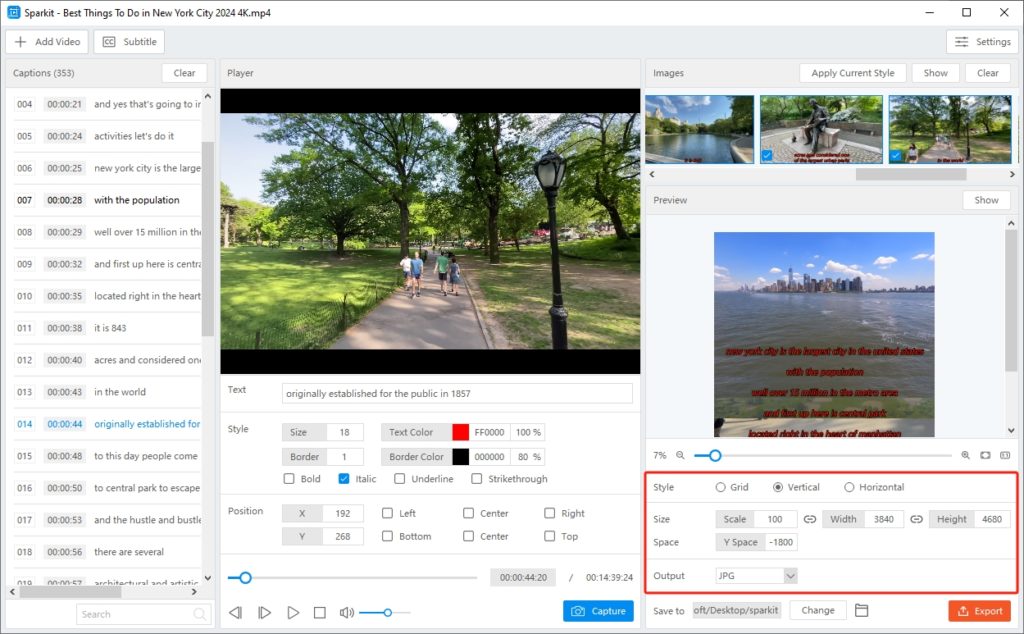
You can also click the “Show” button, zoom in and out to preview the image and ensure that your image settings are configured appropriately.
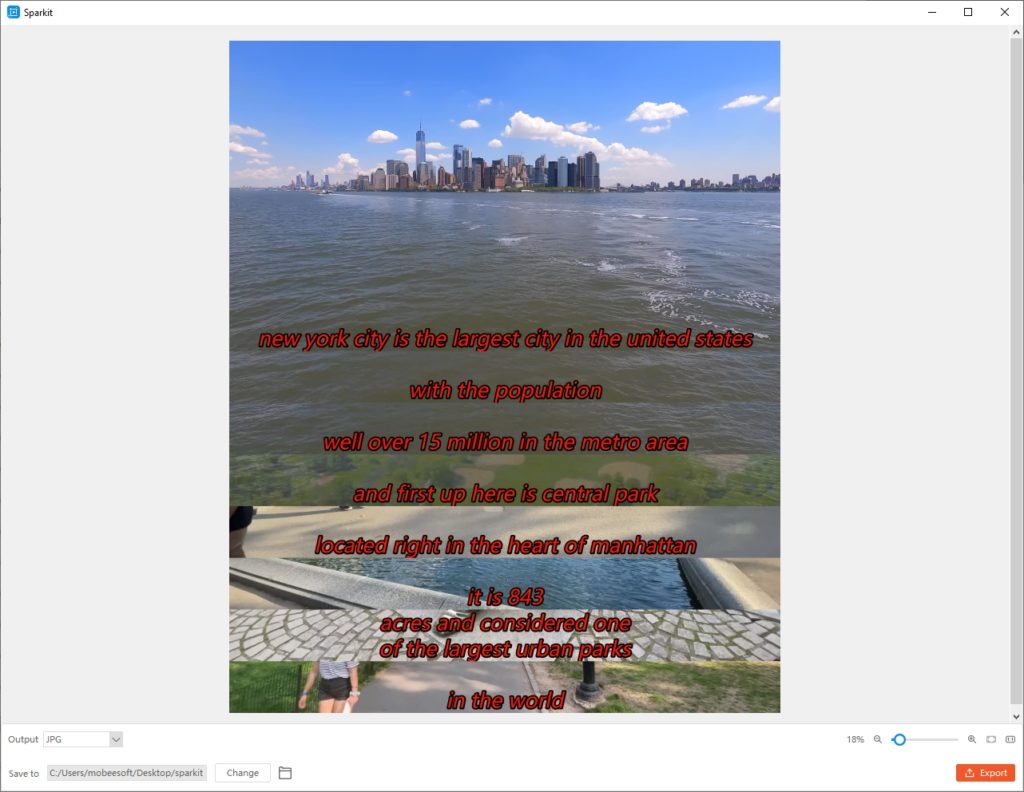
- Export Merged Image
After confirming the settings, click “Export” to save and open this new image on your computer.

4. How to Update Sparkit?
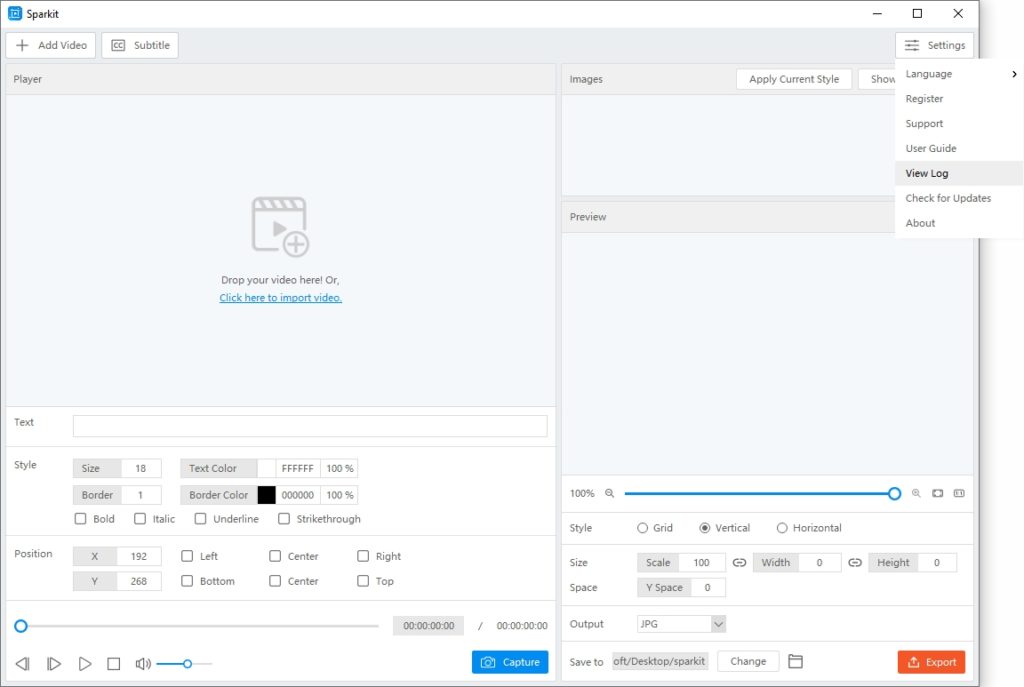
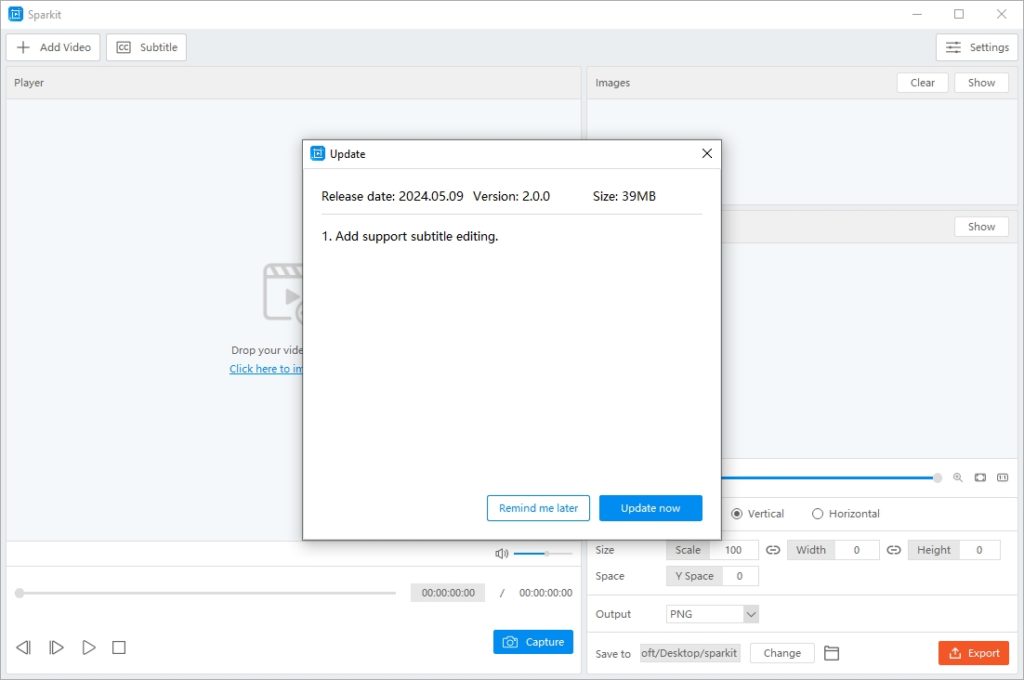
To ensure your Sparkit application is running smoothly with the latest features and enhancements, it’s essential to keep it up to date. Open Sparkit and go to “Settings” > Tap on the “Check for Updates“. This will prompt the Sparkit application to connect to its servers and check for any available updates.

Proceed to download and install the update by following the on-screen instructions if a new update is available.
5. How to Get Help for Sparkit?
When you encounter issues or need assistance while using Sparkit, open Sparkit and go to “Settings” > tap on “View Log” > send email to Swysoft support team with the log files and your issue details.